This series covers ways to get out hunting when you’re on a tight budget. The idea came from the current economic climate and the hardship many are facing.
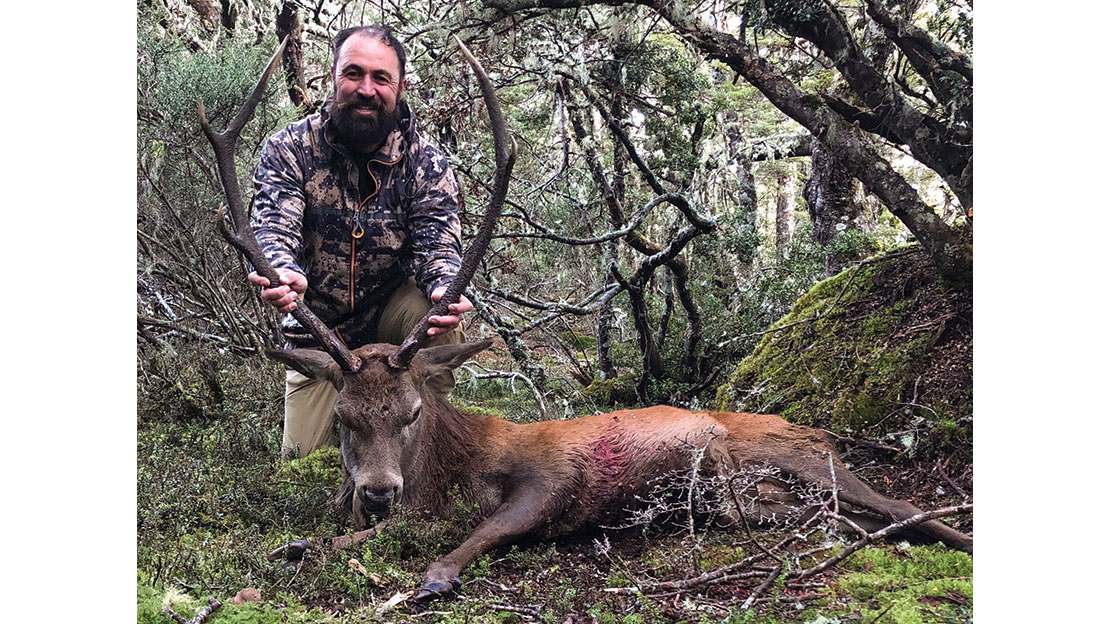
Recently, I did a quick calculation of the cost of meat for our family of three. Our last invoice for the butchery on three deer and one pig came to $580; this was split evenly between two families – so, $290 each – and the meat lasted us three months. We had our meat made into salamis, Kranskies, saveloys, meat patties and bratwurst sausages. Factoring in some fuel made it around $350 in total, which gave us a weekly meat bill of roughly $27 per week or just under $4 per day. That represents a huge saving on your food bill. It’s never been a better time to be a hunter!
To recap, our first article was dedicated to buying a cheaper rifle and setting it up for less; our second instalment is on how to set up your range sessions so that you don’t waste valuable ammunition. With some of these basic guidelines, hopefully you’ll avoid sending ammunition aimlessly into the range backstop!
Step One: Prior Preparation Prevents Poor Performance
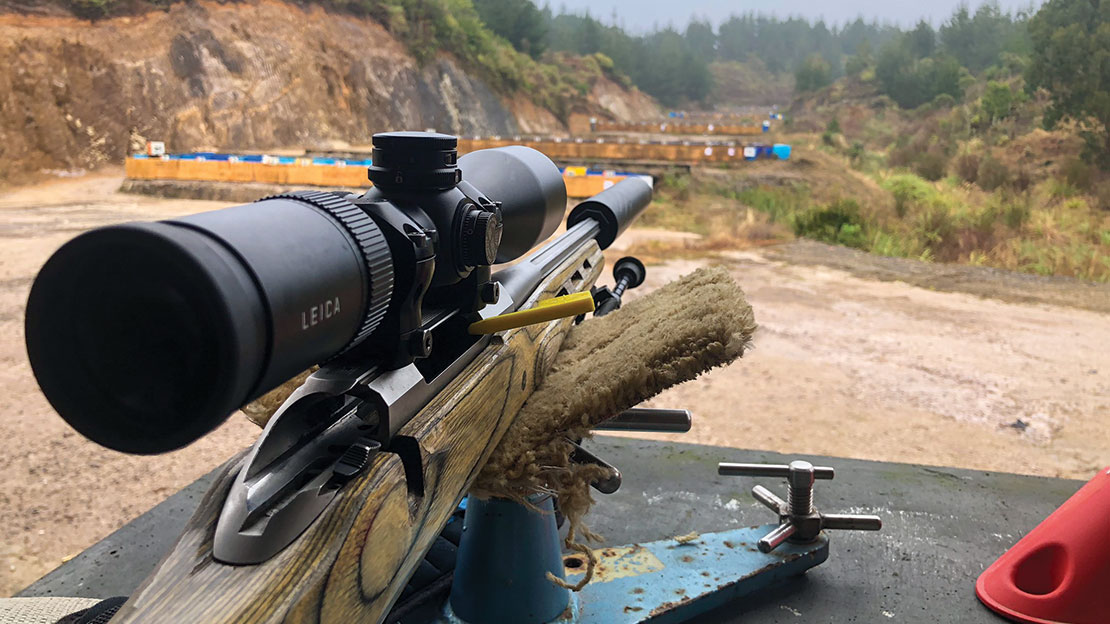
Check your scope rings and bases! Rifle set-up is done poorly overall, and that includes some rifles set up in-store. It’s important that you’re happy with how tight your scope bases and rings are and that your scope is level. Some manufacturers have different tolerances with their rings, so ensure you know the recommended tightness and use a torque wrench if available; you can damage rings by overtightening. If it’s a secondhand rifle, tighten your action screws, and if you have a torque wrench, try to use the same setting if you ever readjust. This key weld of the stock to the action can sometimes be a source of inaccuracies in zero if a different torque is used after removing the action for cleaning or checking.
Step Two: Practice Makes Perfect
Go through the process of bore sighting your rifle. In its roughest form, it’s far from an exact science. There are plenty of good videos online about how to boresight, but in short, you’re lining up the bore with your eye on a target in the distance, and then with the rifle clamped or stable, you adjust your scope for line and height. This should make your first shot closer to your intended aim mark and save the sometimes time-consuming large corrections or, even worse, missing your whole target.
Next, make sure you practise plenty of dry firing. This is basically setting up as you would normally, but with an unloaded rifle, and practising your shooting. Practise a steady hold, correct eye relief and, most importantly, releasing the trigger without disturbing your point of aim.
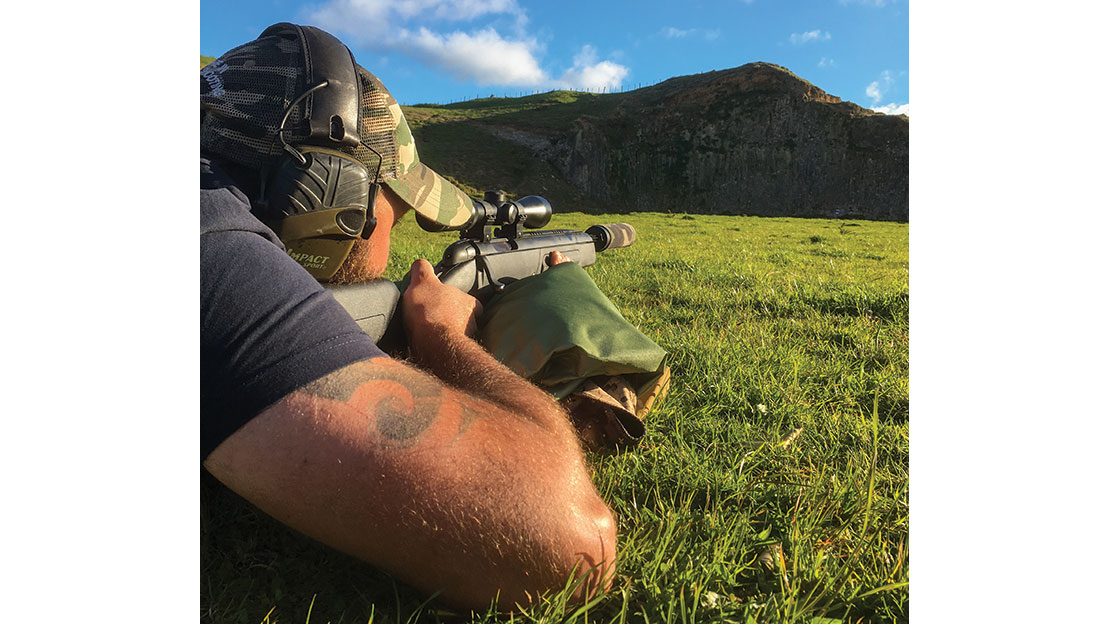
Practising these principles without going to the range is going to save you a lot of time, money and ammunition. Practise using the most stable position, which is usually prone – with a bipod or benchrest if you’re versed in using one.
Step Three: Group Size, not Placement
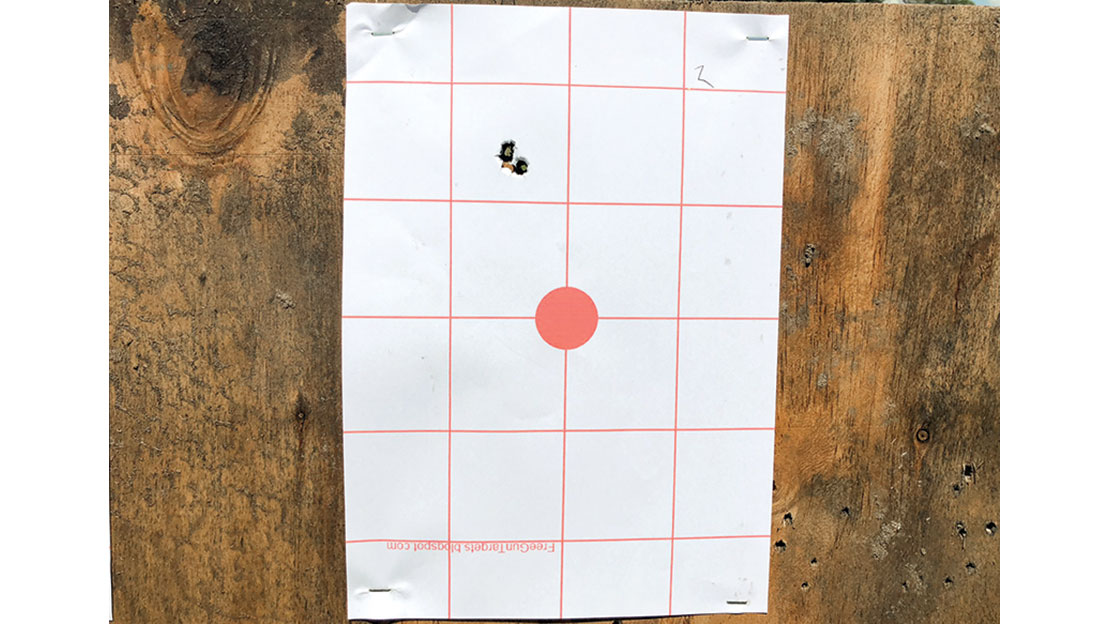
Now it’s time to go to the range. Take your time to set up correctly; dry fire a little before shooting your groups – three to four shot groups suffice in my opinion. I realise some of you believe that’s not a big enough sample size, but it gives you a good foundation. The name of the game is to fire each shot at the same point of aim from the most stable position possible for your three to four shots. Don’t adjust for wind or elevation and try to keep your position and hold as consistent as possible. Remember, you’re trying to find out what the best group size your rifle is capable of whilst removing any of your personal shooting variables. You can practise positional shooting later – for now, we just need to know the best ammunition for your rifle.
The group size is important – not where the bullets are landing in relation to your point of aim. Once you’ve fired two groups for each batch of ammunition, measure your group sizes. Obviously, the smaller the better, but not all groups are created equal. The pattern or dispersion sometimes matters, but that’s a whole different article and not so important when you think of the accuracy required for hunting. For hunting rifles, there’s absolutely no need for five shots under a 50c coin at 100m. Before you start tinkering or changing too much, a one-inch-capable rifle at 100m is more than adequate! Stop chasing little groups when there’s no need – 1 MOA is easily achievable with most of the rifles mentioned in my first article.
Ensure your target is large enough to accommodate any wide shots. If you’ve completely missed the target and you’re struggling, stop … choose a target on the bank, have your spotter call your fall of shot and adjust from there. Don’t waste further ammunition if you can’t see your point of impact.
Ensure you label each target with the correct ammunition used; you’d be surprised how many people get this wrong, me included!
Step Four: Maximum Point-Blank Range
Adjust your scope so your group is landing where you want. There are a couple of trains of thought here. If you don’t have crosshairs that have holdover graduations and you envisage being happy to shoot out to 200m, a 100m zero of 1-3 inches high (calibre dependent) is ideal as it’ll put you dead on at 200m and aiming near the top of the shoulder at 300m, depending on calibre. A zero of 2-3 inches high at 200m gives you some extra elevation at 300m but you’ll be quite high at 100m.
The theory is called maximum point-blank range – basically, the maximum distance you can aim at a target, as opposed to aiming off the target, and hit it with the desired effect. If you hunt mostly bush, then being bang on at a closer distance is ideal; if you hunt open tops or tussock, then you want your 300m zero to be the most important.
Step Five: 200m and 300m Point of Impact
Let’s take it you now have a solid 100m zero. Next, I’d move straight to 300m, if you’re confident, and fire two shots at a large target.
Observe your fall of shot and measure your drop and how it relates to an animal. If you have holdover graduations, also note exactly where your fall of shot is regarding the nearest graduation. A common elevation hold for a rifle drop of around 9-15 inches would be just below the top of the shoulder to drop the bullet straight into the heart/lung area.
If you have spare ammunition, feel free to fire a 200m shot just for a bit of confidence, but I dare say it’ll be falling within 2-3 inches of dead-on with the aforementioned zero recommendations.
Troubleshooting Your Groups
If you have any real issues with your rifle, first go back and check your scope rings and rifle set-up. Then check your fundamentals and have someone else watch you as you fire.
Have a reliable second person to fire your rifle for one or two groups and compare. It’ll soon become apparent if the problem is the ‘nut behind the butt’! If your reliable second person can’t group it either and all your rifle checks are fine, you may have another more serious issue. If you have time and if it’s suspect, perhaps swap out your scope.
If you’ve done your fault checks and it’s a store-purchased rifle, take it back to the shop and have them check it.
Summary
I hope that’s given the beginner some tips to think about before going to the range and that it saves you the time and expense of chasing wayward shots all over a target. I regularly check my zero before I go on a hunt, but I know my rifle so well that I fire one shot and if it’s in the right spot – which is two and a half inches high at 100m – then I’m good to go. Seldom have I found my main hunting rifle – a standard T3 stainless in 6.5×55 – to be out. However, it has happened, so it’s definitely worth it to check zero every now and then, particularly before a big helicopter trip in, as a week in the mountains with a knackered rifle is undesirable – just ask my mate Chris Morris, the Manawatu Hunter, how demoralising it is having a rifle fault on a weeklong tahr hunt!
I haven’t covered positional shooting in this article as it’s such a broad topic but, needless to say, be aware that your fall of shot may change depending on your shooting position. Practice is the key to learning this, but when you start out, prone supported or off the back of your daypack is always going to be a winner and, if your hold is similar, shouldn’t be too different to your range results.
In the next instalment in this series, I’ll talk about how to get out into the hills cheaper, how to maximise your time whilst out and tips on lowering your butchery costs.
SHARE YOUR BEST PICS #NZRODANDRIFLE