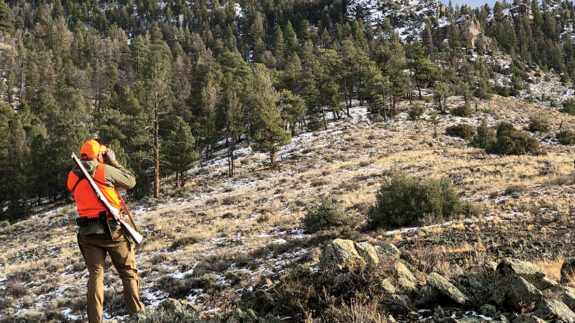
After a recent hunting trip, it dawned on me that I really needed to pull finger and sort out a better location at home to hang game animals while processing the meat. Since moving in late last year, it’s something that’s been on the to-do list.
The go-to for many hunters is simply a tree in the garden. However, if you don’t have any suitable trees on your property, then you need another option. This led me to an idea … my hunting/fitness-themed DIY project of a chin-up bar and bar dip set-up that doubles as an area to hang and dress out your animal. I’m not a builder by any stretch of the imagination, but this project was well within my wife’s and my skill sets.
Description
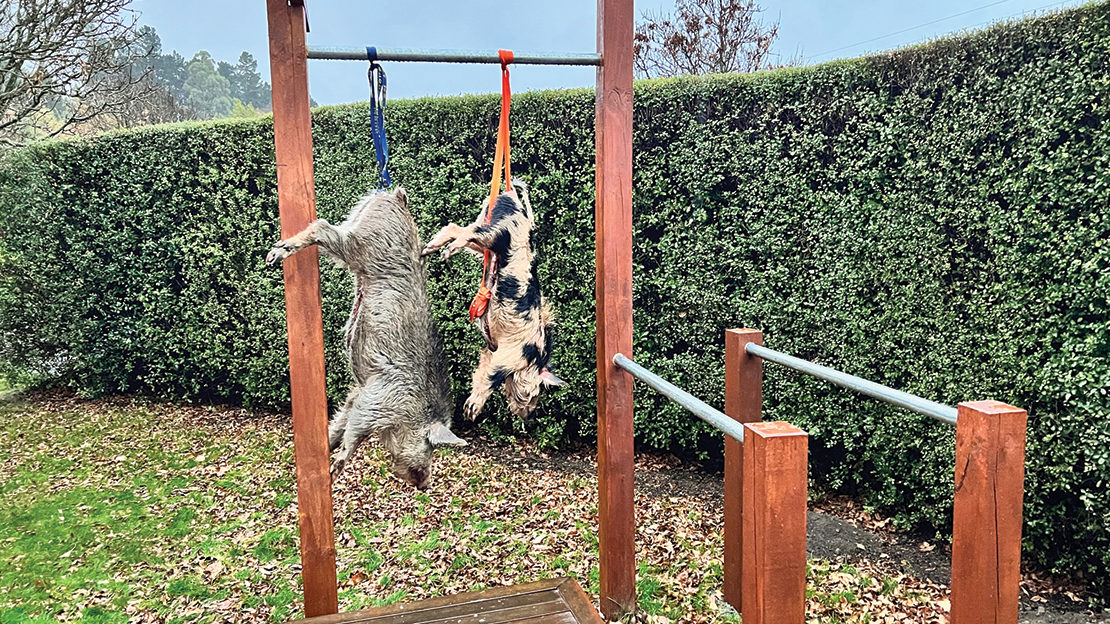
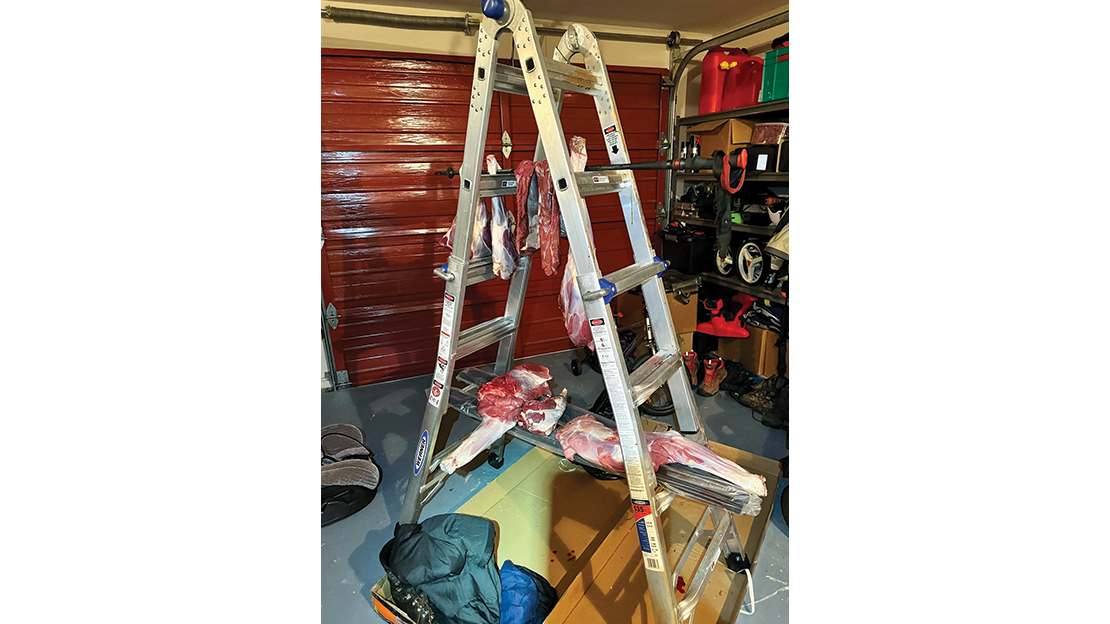
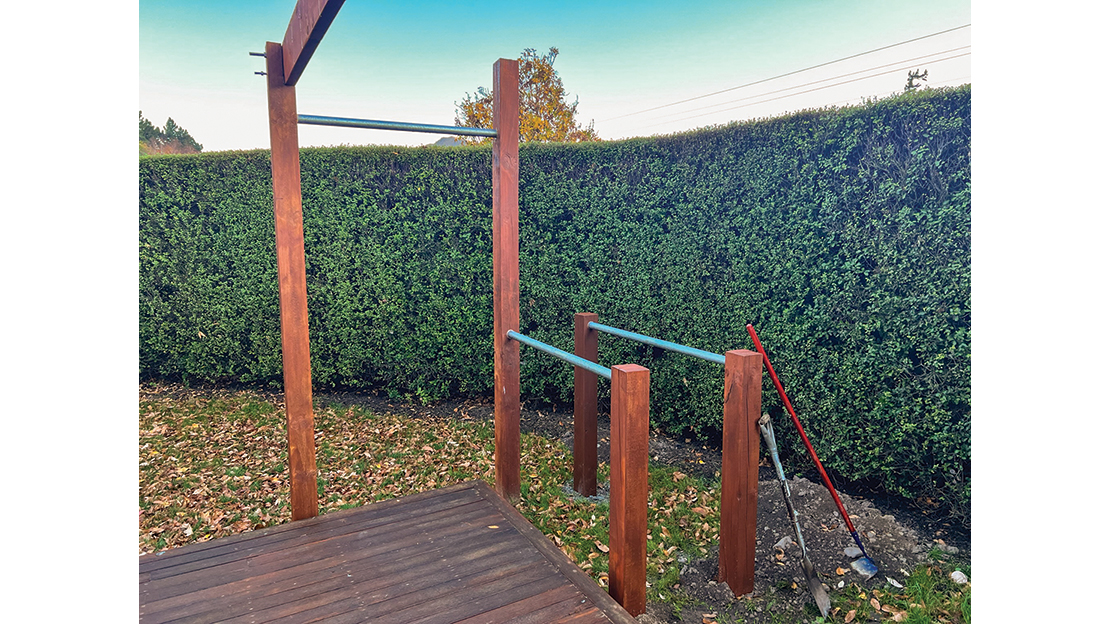
This project of mine is a chin-up bar coupled with a bar-dip exercise area which doubles as a hanging bar for wild game. I used planks of timber placed across the bar-dip poles to make a basic table where you can place your wild game meat while you work on dressing the rest of the hanging animal. I love the duality of this equipment because living rurally means I don’t have ready access to a gym, so having some gym equipment at home is a great option. Being able to use the same area to assist in cutting up delicious game meat for the family is a game changer – it’s also a relatively cheap and simple project that even an amateur like me can build. My old method was to use our ladder (see photo) to hang the meat, which works but isn’t permanent.
Here’s what you need to get started:
• Two 125mm x 2.75m posts (treated – for the chin-up supports)
• Three 125mm x 1.75m posts (treated – for the bar-dip supports)
• Wood stain of your choice
• Galvanised pipe – 4m of 45mm diameter for mid to large hands (or smaller if necessary).
• Twelve 25kg bags of quick-set concrete
• Drill with a hole saw attachment (a spade drill bit may suffice)
• Saw
• Spirit level
• Shovel
• Chisel
• Hammer
• Liquid Nails – Extreme Strength (outdoor use)
• Hacksaw with metal cutting blade to cut galvanised pipe.
Method
Step 1: Start by cutting your posts and galvanised pipes to the appropriate lengths. If you want a smooth finish to the posts, you can sand them down using an orbital or belt sander. We used an 80-grain sanding disc, but you can go finer depending on personal choice.
Cut out the holes for the bars with a hole saw attachment. Make sure you drill the hole at least 50mm into the post so the bar cannot fall out easily. Remove the excess wood with a chisel. For the chin-up bar, measure from the top of your post downwards 10-15cm then cut your bar holes, they’ll be uniform and easily levelled up when you concrete.
It’s optional to stain your posts at this point.
Step 2: Consider the depth of your holes to the post heights. We dug approximately a third of the height of the post for the hole. (E.g., for the shorter posts of 1.75m, we dug our hole about 60cm deep).
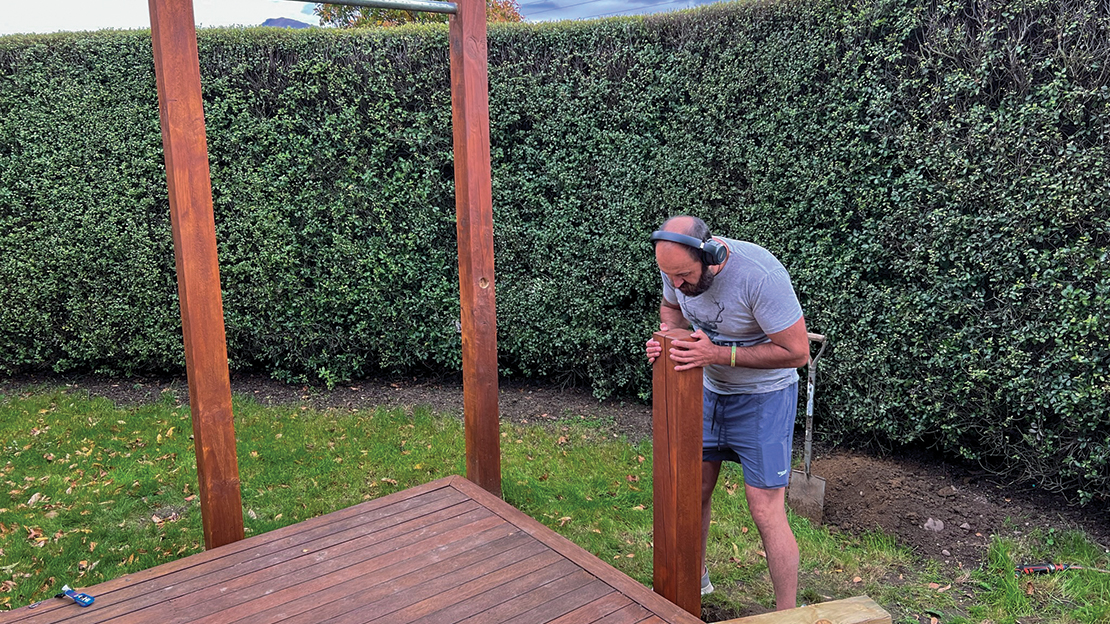
Step 3: Start with your 2.75m posts. Concrete the first post in and let it set. Before concreting in the second post, make sure you add epoxy glue inside your post holes for your steel bar and insert the metal pole into both posts before concreting in the second post. The glue will stop your bar from rotating. Two people are ideal here. Use your spirit level on the metal bar to level the bar while the second person manoeuvres the second post to get this height level correct before you set the concrete. Once it’s perfect, concrete in your second post. Wet the hole, and as you pour in your quick-set concrete, keep watering with your hose to ensure good coverage. We used four to five bags for the taller posts as they take a lot of weight.
Step 4: (Bar Dip Feature) The first post to be concreted should be the one that attaches to the chin-up-bar post. Place in the pipe, level the post and pipe, and concrete it in.
Step 5: Lastly are the final two posts and length of pipe. The width of your dip bars can be varied depending on your body size and how comfortable you are doing bar dips. Ensure this last bar is parallel to the first dip bar and at the same height.
Step 6: Allow time for your concrete to set. Then fix up any turf you have around your post holes and you’re ready to go!
Summary
I hope other hunters find this project as helpful as I have. I’m sure there are many of you who can think of additions to make this a true multipurpose workstation; some kind of roof or mesh netting to keep the flies off could be useful. I use a Ridgeline Game Bag to cover a hanging animal when I’m not actively attending it, especially in summer when the flies are about.
With regards to some of the exercises, please work your way into them gradually. Bar dips and chin-ups and other body-weight-oriented exercises can be hard on a beginner, so if you feel any pain or sustain an injury, seek medical advice. If a whole chin-up is out of your reach, a good technique is to do negative chin-ups or bar dips. This is where the upwards part of the movement is assisted by you lifting yourself by either using your legs or a small jump, then gradually lowering yourself. These negative sets are a great way to ease into them or add a couple of extra bonus repetitions into your routine.
I’d love to see a continuous series of your own hunting themed DIY projects and hacks in our magazine, so if you have one, please send it to editor@rodandrifle.co.nz, and let’s keep the series going.

SHARE YOUR BEST PICS #NZRODANDRIFLE